While the Animator has a very large range of capabilities, getting started
is quite easy.
TIP: Make sure your SVG images are as simple as possible.
Remove unnecessary paths and where possible simplify transforms. The less
complex the image the quicker and more efficient it will be, especially if
there are many images.
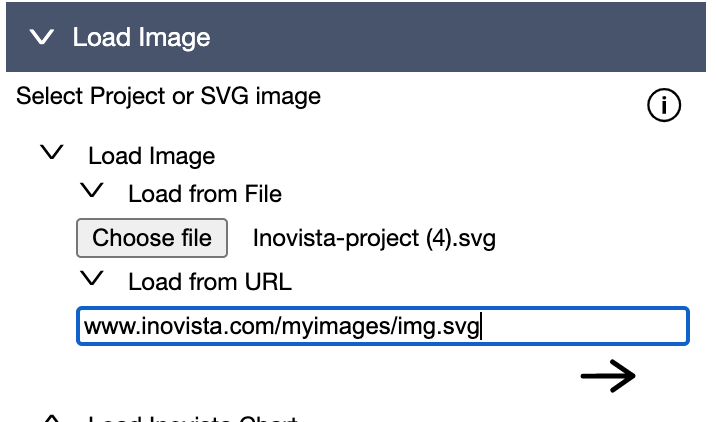
1) Load an SVG Image
An image can be loaded from a file on the local computer or using an online
URL. Use either the 'Load Image' section in the Animator left hand panel or
click one of the options directly on the toolbar at the top of the Animator.
Clicking on the 'URL' button in the toolbar will open the 'URL' section in
the 'Load Image' section. Enter or paste the URL into the field and click
the arrow below it to open a URL.
Load Image from Panel
Load Image from Toolbar
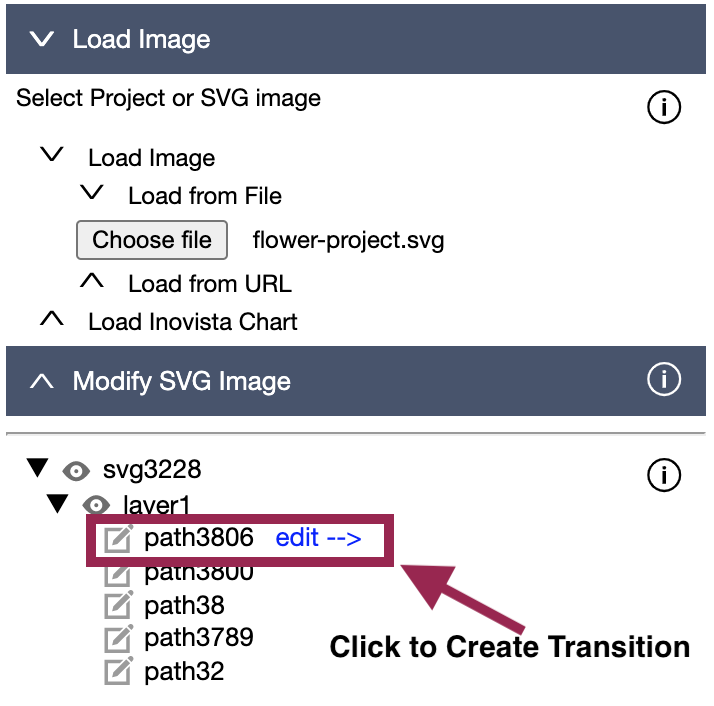
2) Select All or Part of the Image
Once an image is loaded, a tree structure contained the editable elements of
the image will be shown below the 'Load Image' section. To create an
animation for the whole image within the background, select the very first
item at the top of the tree or select one of the elements in the tree to
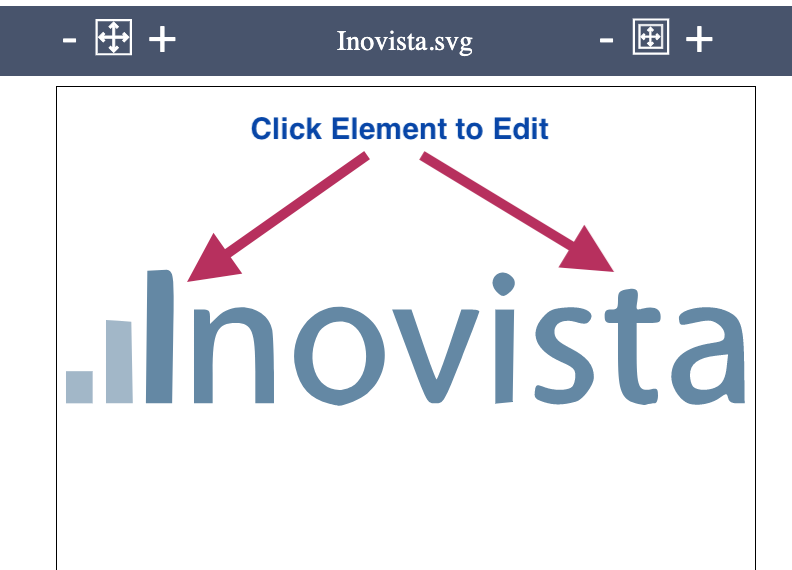
edit that part of the image. Clicking on elements in the loaded image
itself, will also select that element in the tree.
Once an element has been selected, click on 'edit -->' to create a
transition for the selection. For more information on the tree, see Element
Tree.
Image Elements Tree
Loaded Image
3) Create a Transition
After clicking on 'edit -->', the element(node) will be shown in the
'Transitions' section. To create a new transition, click on the '+' button
next to 'New Transition'. This will show a popup dialog with a list of the
available transitions for this type of element(node). Click on the required
transition type. See Transitions
for more information.
Create New Transition
Select Transition Type
4) Edit a Transition
Each transition will appear as an expandable tab under the 'Transitions'
section. Enter values to define the transitions. Sub-sections of the
transition can also be expanded/closed by clicking on the relevant arrow
icon next to the option .
If there are transitions for multiple elements/nodes, switch between them by
selecting the required node in the 'Node' dropdown. If there are
chained(multiple) transitions, they will be presented in the order they
play. To edit a chained transition, scroll to that transition and expand it.
Set Transition Values
Enter Transition
Options
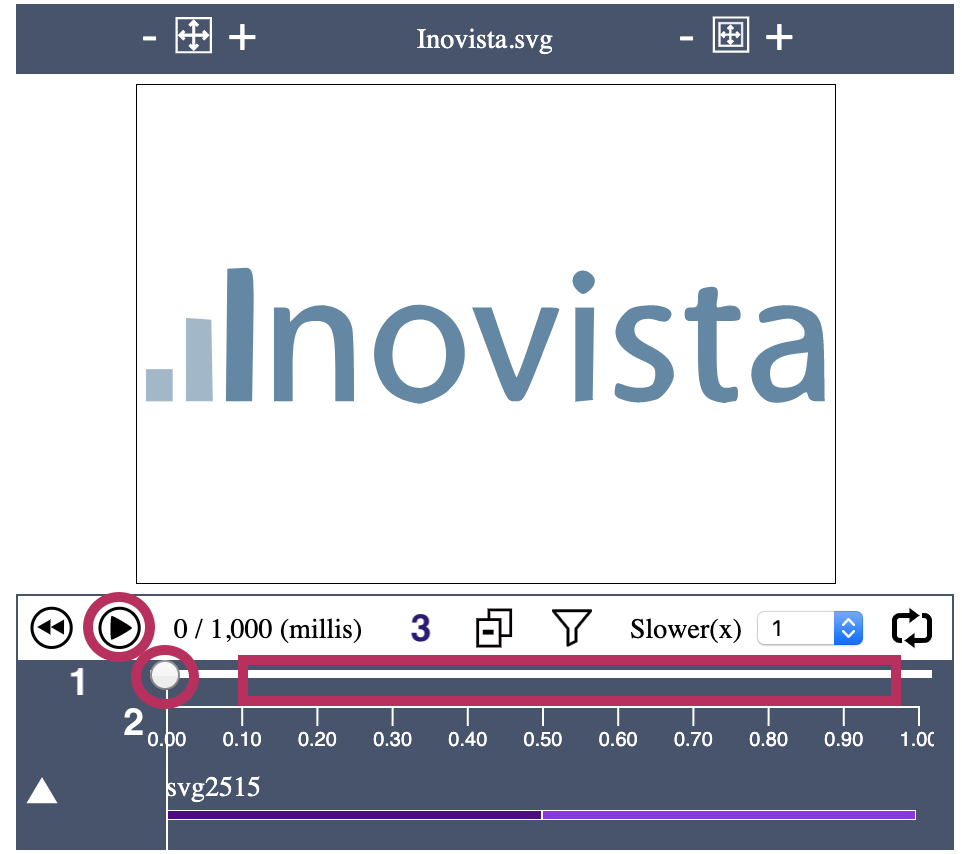
5) Test the Animation
At any time after a transition has been created, it is possible to play the
animation that has been created. To play the animation, click the
button in the toolbar below the loaded image. ('1' below). Click again to
pause the animation.
To move to a specific point in the animation, drag the pointer on the slider
('2' below) or click on the slider ('3' below).
Play the Transition
6) Deploy the Animation
Once the image is ready for deployment, either export or copy the image in
the 'Image Project' section. To copy or export the current project, select
the 'Current Project' option. To copy or export the animated image, select
'Stand Alone Image'. If the animated image is to form part of an Inovista
Chart, select 'Inovista Chart Image'. For more information, see Export
and Copy Image. Once an image has been created as an SVG file, that
file can then be included into a web page. To do this, there are three
options:

 .
. button in the toolbar below the loaded image. ('1' below). Click again to
pause the animation.
button in the toolbar below the loaded image. ('1' below). Click again to
pause the animation.